BABY
Your Quick-Start Guide to Making Homemade Baby Food
The idea of making your own baby food might be intimidating, but it is actually pretty easy! Here, your no-stress how-tos on getting started.

Written by
Gabrielle McPherson, MS, RDN, LDN
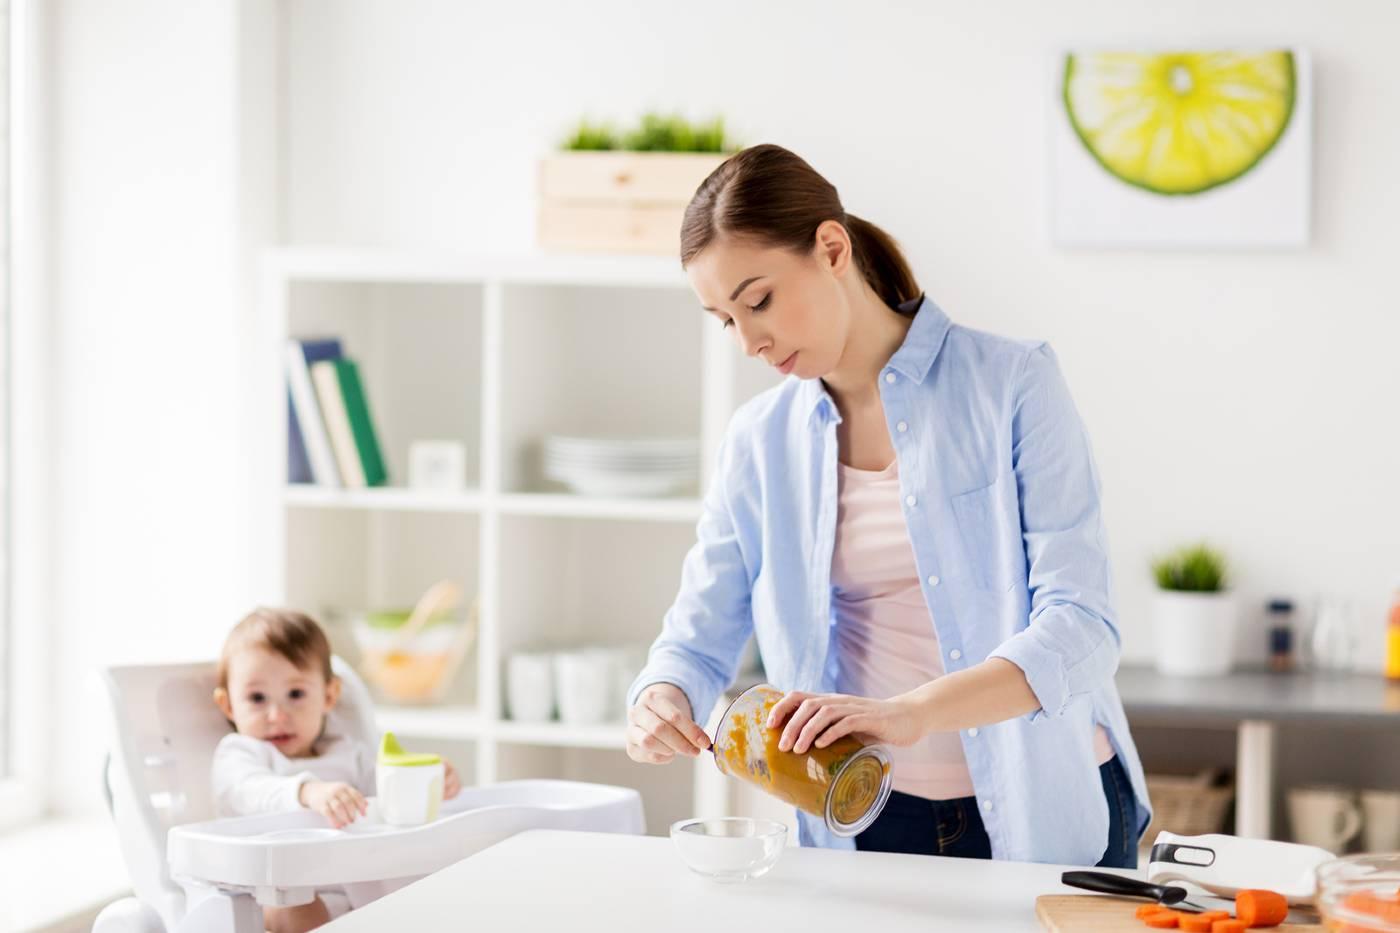
The idea of making your own baby food can feel a little intimidating, but it is actually a whole lot easier than you would expect. In fact, with the help of our easy-peasy get-started guide, your kitchen will morph into a world-class baby food café in no time flat—guaranteed!
Homemade Baby Food: Before You Begin
You could dive headfirst into your crisper, toss whatever produce you find in the blender and call it baby food, but it is a far better (safer, smarter) idea to take a step back and learn some basics, first…like:
Shop in season. When you feed your baby fruits and vegetables that are in season, you are offering them the best flavour and nutrition. If you have ever bitten into a tasteless mid-winter tomato, you understand!
Embrace variety. Fruits and vegetables are not all equal and since each one offers diverse nutrients, it is important to offer a variety. That means, cooking the same two vegetables over and over is not ideal.
Try, try again. If your baby makes a funny face after tasting new food, do not give up. Many children need to be offered a new food as many as as many as 20 times before they will happily eat it.
Ditch the all-or-nothing mentality. It is okay to use store-bought baby food when you need to and to make your own!
Consider organic. While there is no need to purchase only organic fruits and vegetables (they can get pricey), it is a good idea to consider buying organic for foods that tend to be particularly high in pesticides, like:
- Apples
- Celery
- Cherries
- Grapes
- Green leafy vegetables, such as kale and spinach
- Nectarines
- Peaches
- Pears
- Peppers
- Strawberries
- Tomatoes
Homemade Baby Food: Supplies You Need to Start
Yes, a high-quality blender or food processor will greatly help you on your culinary journey (more on that later), but you really do not need a lot of expensive equipment to start making baby food. In fact, you can begin DIYing your baby’s food in a matter of minutes…and often with only a fork. Really! Here are six no-fancy-supplies-required baby food ideas to inspire you:
1. Banana baby food: You only need a ripe banana and fork to mash it!
2. Avocado baby food: Simply remove the pit from a ripe avocado and fork-mash.
3. Peach baby food: Canned peaches (in their juices) are so soft! Rinse and mash with a fork until you reach the consistency you want.
4. Pear baby food: Just like peaches, you can fork-mash canned pears. Just rinse the fruit first.
5. Nut butter baby food: Thin a teaspoon or two of nut or seed butter with warm water, breastmilk, or formula for a smooth consistency.
6. Whole grain baby food: Prepare oatmeal or barley cereal by adding warm water, breastmilk, or formula until you get the desired texture.
When you are ready to graduate to a greater variety of foods for your baby, you will likely need more than a fork. This baby food making equipment will prove helpful:
- Blender or food processor
- Cooking thermometer (important when cooking meat)
- Glass baby food jars
- Immersion blender
- Potato masher
- Silicone ice cube trays
- Steam basket or microwavable steamer
Homemade Baby Food: Safe Preparation and Storage
To ensure that you are making the healthiest and safest baby food possible for your precious baby, follow these prep and storage rules:
Clean everything first. To minimise exposure to any bacteria, wash your hands, kitchen surfaces, and all fruits and vegetables before preparing baby food.
Remove potential hazards. When preparing meat or fish, trim and remove any fat, skin, gristle, and bones as needed. For fruits and veggies, nix skin, seeds, and pits as necessary to protect your baby.
Know the right temperature. Cooking meat to specific temperatures will reduce your baby’s risk of food poisoning. Stick to these numbers:
- Chicken and turkey: 74 degrees Celsius
- Ground beef and pork: 71 degrees Celsius
- Fish: 63 degrees Celsius
Follow instructions. Grains and legumes may require soaking or rinsing before you start cooking. Be sure you read the package instructions before you begin.
Store baby food like this. Add fresh purees to silicone ice cube trays and freeze. Once frozen, move cubes to a freezer-safe food container. (Each cube is a serving that can be easily defrosted and reheated if needed.) Homemade baby food can be stored in the freezer or in the refrigerator for 1 to 2 days.
Think beyond fresh. In-season fruits and veggies are often the best choice, but frozen and even canned produce can also be used to make homemade baby food. If you are using canned, however, make sure the food is in its own juices or in a low-salt or salt-free liquid…and that you rinse before making your baby food.
Heat first. Items like ripe bananas and avocados are soft enough to mash raw, but other fruit and vegetables need a steam or roast first to make mashing doable.
Adjust accordingly. For more thin and smooth purees, simply add breastmilk, formula, water, or low-sodium broth in small amounts. Thicker textures will need less liquid.
Disclaimer: The information on our site is NOT medical advice for any specific person or condition. It is only meant as general information. If you have any medical questions and concerns about your child or yourself, please contact your health provider. Breastmilk is the best source of nutrition for babies. It is important that, in preparation for and during breastfeeding, mothers eat a healthy, balanced diet. Combined breast- and bottle-feeding in the first weeks of life may reduce the supply of a mother's breastmilk and reversing the decision not to breastfeed is difficult. If you do decide to use infant formula, you should follow instructions carefully.
SHARE THIS ARTICLE
PARENT PICKS
Bestsellers
More on Baby
About Gabrielle McPherson, MS, RDN, LDN
Gabrielle McPherson, MS, RDN, LDN is registered dietitian in Missouri who specializes in community and pediatric nutrition. Gaby is passionate about encouraging families to eat well in simple, practical ways that are realistic...and delicious! When not working, Gaby loves cooking, baking, and making messes and memories with her sous-chef/preschooler Charlotte.


